How To Install Internal Gutter Brackets

Guttering Repair Guide Drains Gutter

Image Result For Internal Gutter Details Gutter Design Details Design

The Tn Seamless Gutters Difference In Hangers Seamless Gutters Gutter Gutters

Half Round Gutter Google Search Gutters Downspout Gutter
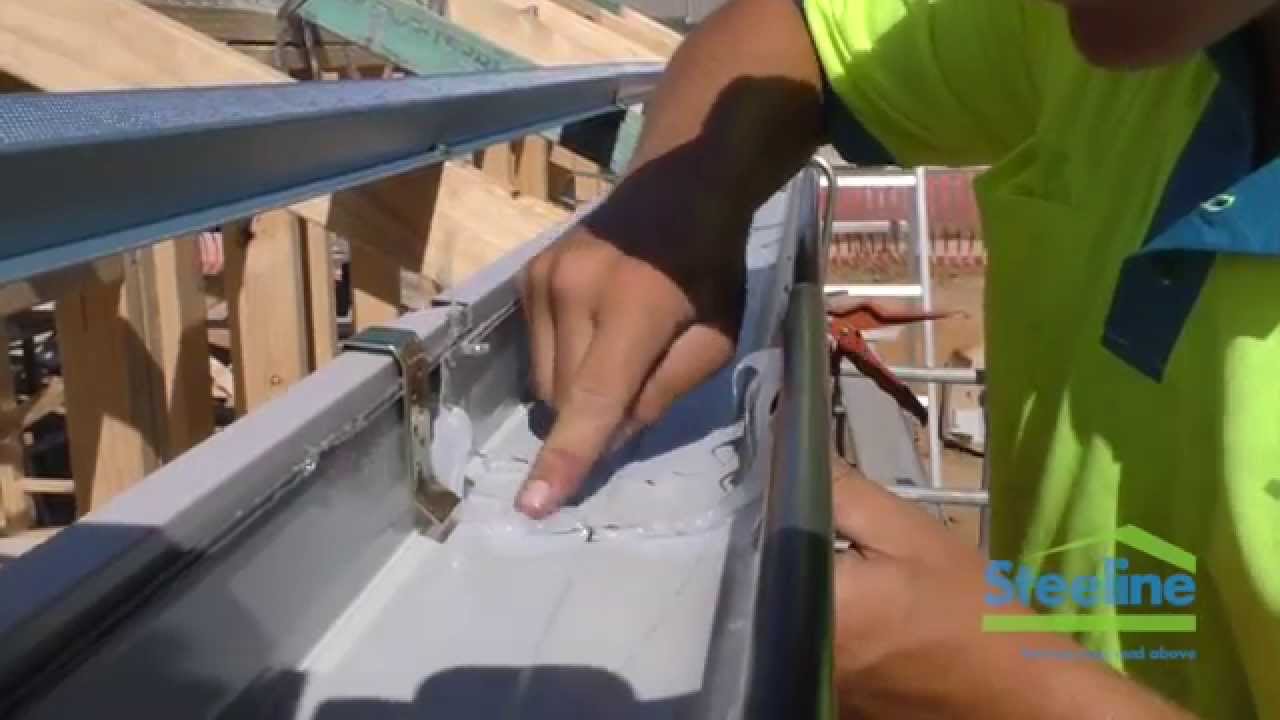
Steeline Installing Roof Gutters Youtube Gutters Installation Roof

Leafguard Is Screwed To The Fascia Board With Internal Hanging Brackets Unlike Conventional Gutters Attached Seamless Gutters Gutters How To Install Gutters

If you are using internal mounting brackets install them into the gutter first then attach the gutter pieces to the fascia using the internal brackets.
How to install internal gutter brackets.

Gutter Replacement Gutter Replacement Western Suburbs Melbourne Gutter Repair How To Install Gutters Seamless Gutters

Products Guttering Steel Supplies Steel Fabrication Building Products Steel Products Stair Stringers Ste Steel Fabrication Steel Supply Roofing Supplies

The Leafguard Brand Gutter System Uses 032 Gauge Aluminum Which Is Approximately 20 Thicker Than Conventional Gut Seamless Gutters Cleaning Gutters Gutters

Elegant Rise And Fall Gutter Brackets On A Home Near Cirencester Listed Building Cirencester Building
Source : pinterest.com
