How To Seal Attic Before Blowing Insulation

Saving Sustainably Air Sealing And Insulation Greenbuildingadvisor

Why You Should Insulate Attic Before Upgrading To A Higher Efficiency Hvac System

Blowing Insulation Into Your Attic Insulation Basics Insulating Your Home Howome Insulati To Hon

Install Blown In Attic Insulation Lowe S

Dr Energy Saver Of Connecticut Attic Insulation Before And After Photos Page 3

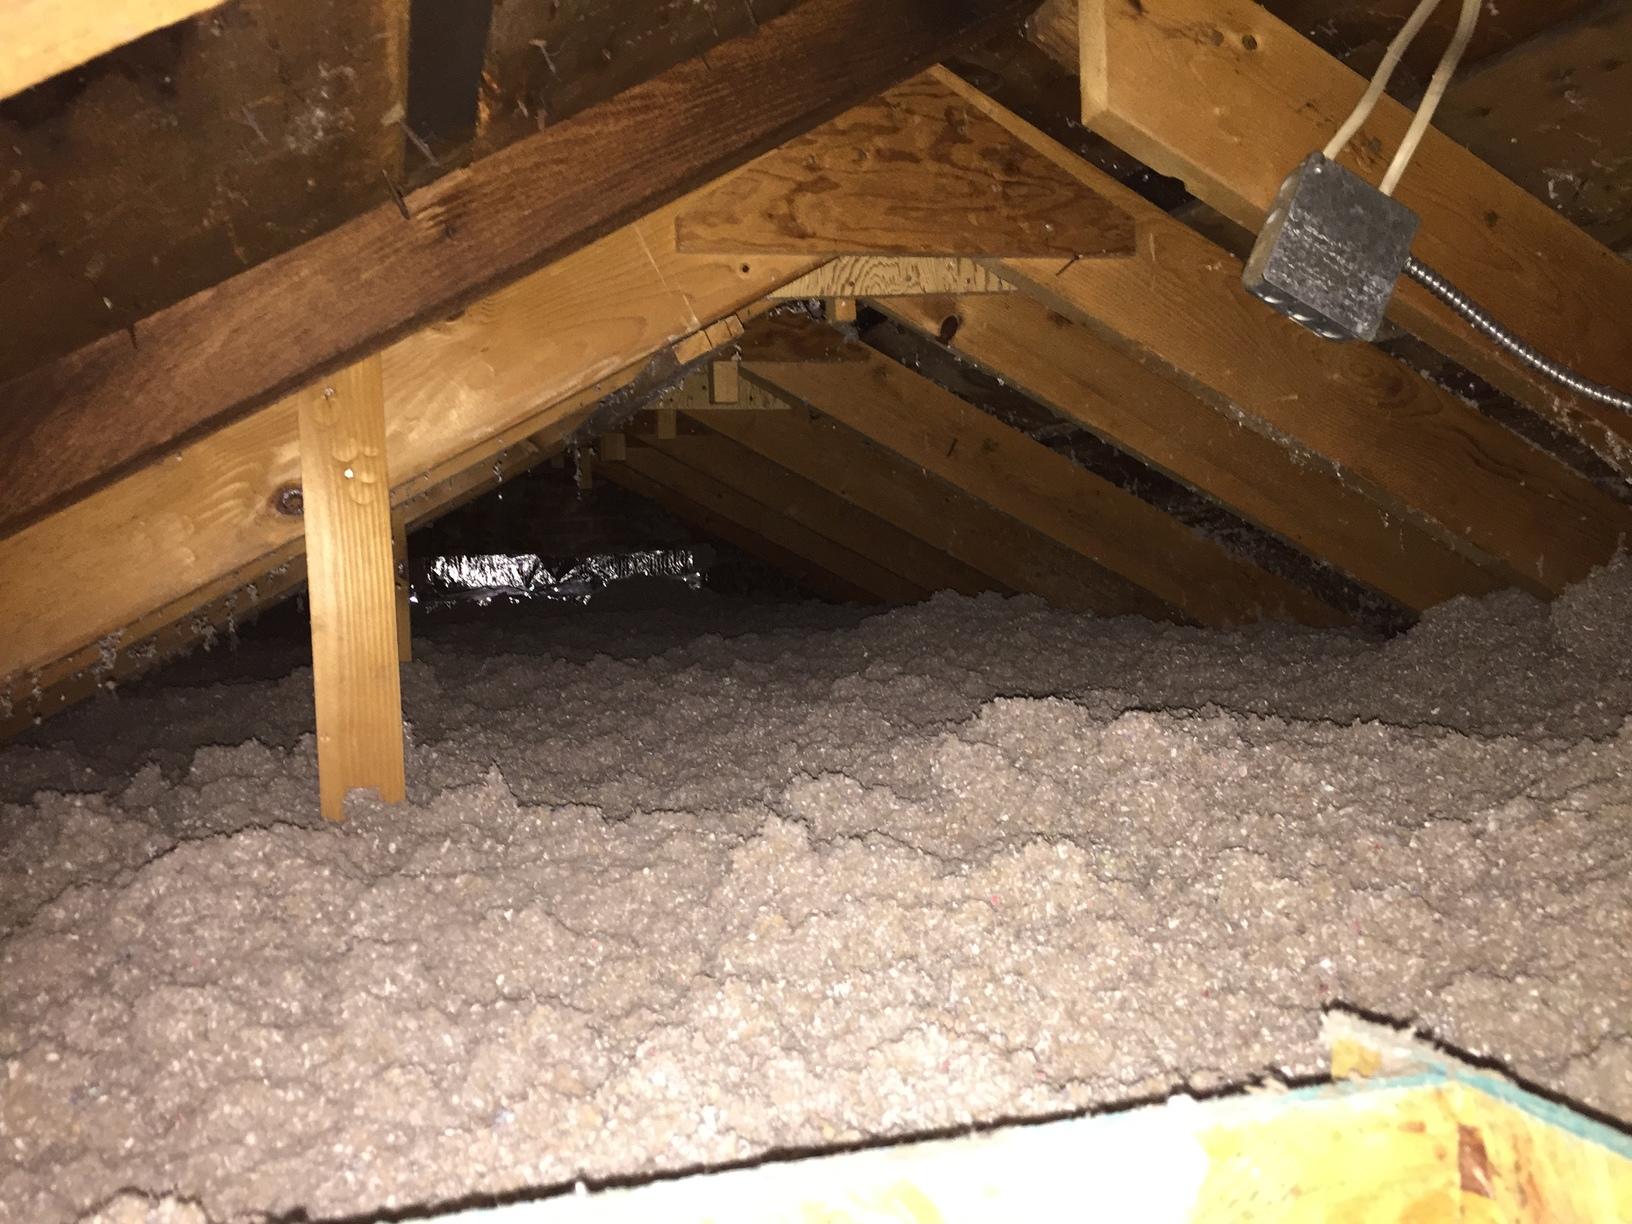
How To Prepare An Attic For Blown In Insulation

Fasten blocking around the hatch or door to allow the material to be installed around this area without escaping.
How to seal attic before blowing insulation.

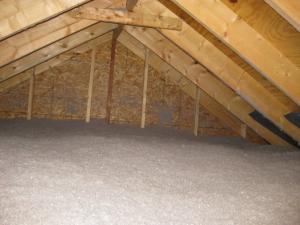
Attic Blown In Insulation
Blown Insulation For Existing Vented Attic Building America Solution Center

Insulate Attic Duct Work With Blown In Cellulose Insulation Greenest Insulation Blog
Attic Insulation Attic Insulation In Falls Village Blown Insulation In Attic
Source : pinterest.com
